Pages

Wednesday, October 29, 2014

Goals Update: Taking Walks & Exporing

Hello everybody! I've completed another goal from my October Goals List! With October ending in a few days, I have decided that I will have to finish half of the goals next month. As this was my first month blogging, I'm learning a lot about the time and effort each post requires. I think I took on too big of a task to complete by creating 10 goals for the month. I want to have time to do other posts as well, not just goals updates. So with that being said, I'll finish out this month with 5 completed goals, and then complete the next 5 in November. I still really love the idea of doing a goals segment here on my blog, I think it is a great way to share experiences and to improve as well as accomplishing things I've always wanted to accomplish. 

Okay! Now that thats all cleared up lets move on to the goal! So this is something that I've been wanting to do for a while, but for some reason I never get my feet moving to go do it. I used to take walks as a kid with my dad all the time. It was something that we both extremely enjoyed. It was a great time to spend together, and it was always an adventure. & I love a good adventure. 
Walking refreshes my mind and inspires me. Not to mention its great for the body as well. I remember hearing a saying a while back that has stuck with me, something along the lines of "if you're ever having a creative block, go take a walk". I completely agree with this piece of advice. You see so many things during a walk and that can lead to some wonderful inspiration. 
I think it's also very true that you think you know your neighborhood until you go on a walk. So many times have I driven through my neighborhood and I see the same things. But with a walk you see new things and get a new perspective. 
Perspective is so important in life. I think for a person to truly grow and live fully they need to have multiple perspectives. Even if you are just getting a new perspective by taking a walk! You are still learning and seeing and experiencing new things. 

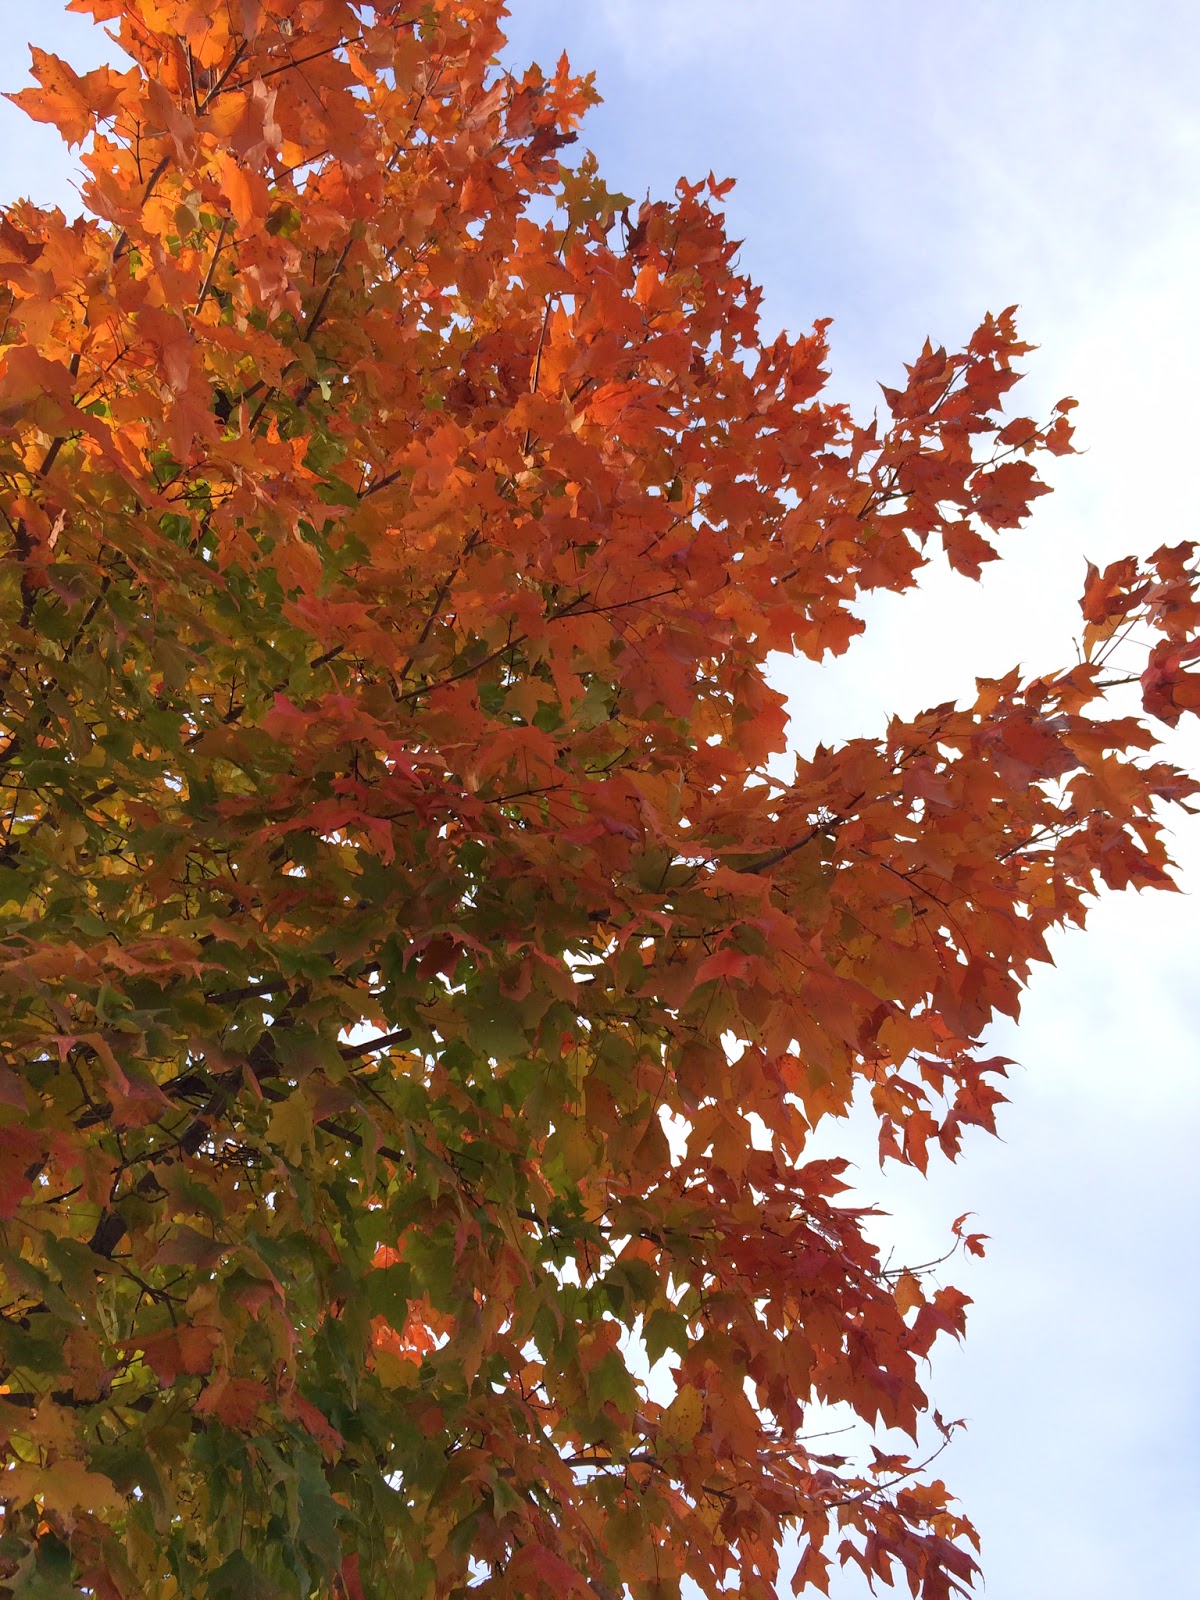
Recently the sunsets here in Maryland have been insanely beautiful, and I love nothing more than a colorful and magical sunset. The trees have also been changing for fall, so it's been a kaleidoscope of nature's colors outside this past month :)
Take a look at the photos I took, as well as a time lapse video I took, while exploring around my neighborhood below!


I hope this post inspires you to go out at take a walk, or get a new perspective of some sort. If you're in a rut, or feeling sad, or uninspired a quick fix is taking a walk. 
I want you guys to go out for a walk or go explore a new place & see how you feel after! And adventure is a foot step away, so go find it!!
Thanks for reading!

-Taylor-

Tuesday, October 28, 2014

Bloody Halloween Nails!

Hey guys! I have a fun little post here for you, it's going to be a how-to on Halloween nails! I'm excited to share this with you, its a super fun, cute way to paint your nails for Halloween & it's really easy! So check out the steps below to learn how to achieve some bloody nails!

What you'll need:
-Red nail polish
-Base & top coat nail polish
-Black nail polish
-Toothpicks

So of course the first step is to manicure your nails the way you like, get them all prepped and ready to be painted.

After your nails are prepped, paint on a base coat. A base coat is important because it really helps prevent your nails from chipping & being stained.


Once you let the base coat dry, paint your first coat of black. 
I'm choosing to alternate the colors, but you can do whatever style you want! With such funky & creepy nail art, you can be as creative as you want! 


While the first coat of black is drying, you can start on the blood drips! Now this part is actually a lot easier than it looks. 
First, take your red polish and line a heavy coat along the tip of your nail (like you're trying to go for a french manicure look!). You want this to be heavy with a good bit of nail polish because we will be dragging it down later. 


Now, this part is important to do in a timely manner. We don't want the red to dry before we get the chance to turn it into blood drips. 
So, take a tooth pick and drag it down in lines. You'll have to work with it a little to get it how you want it to look (but not too much, or the polish will start to get too gooey). 
I stayed with 3-4 lines on each nail, since thats all there is room for. 


The more nail polish, the easier it is to work with, but you will want to choose a red nail polish that dries quickly, or else you'll be waiting forever for it to dry since it's so thick. 

You should get the hang of it pretty easily, so once you're ready, move on to the rest of your nails. 


After you're done with the red, go back and do your final black coat & finish with a clear top coat!
Be careful with the top coat on the red nails, it very easily smears the red, try not to do more than one swipe with the clear coat or it will drag red with it! 


And there you have the final look! A cute but creepy nail design perfect for Halloween! 
I hope you guys enjoyed this post, if you decide to try this out I would love to see it so send me your pictures!!
Thanks for reading!
-Taylor-